
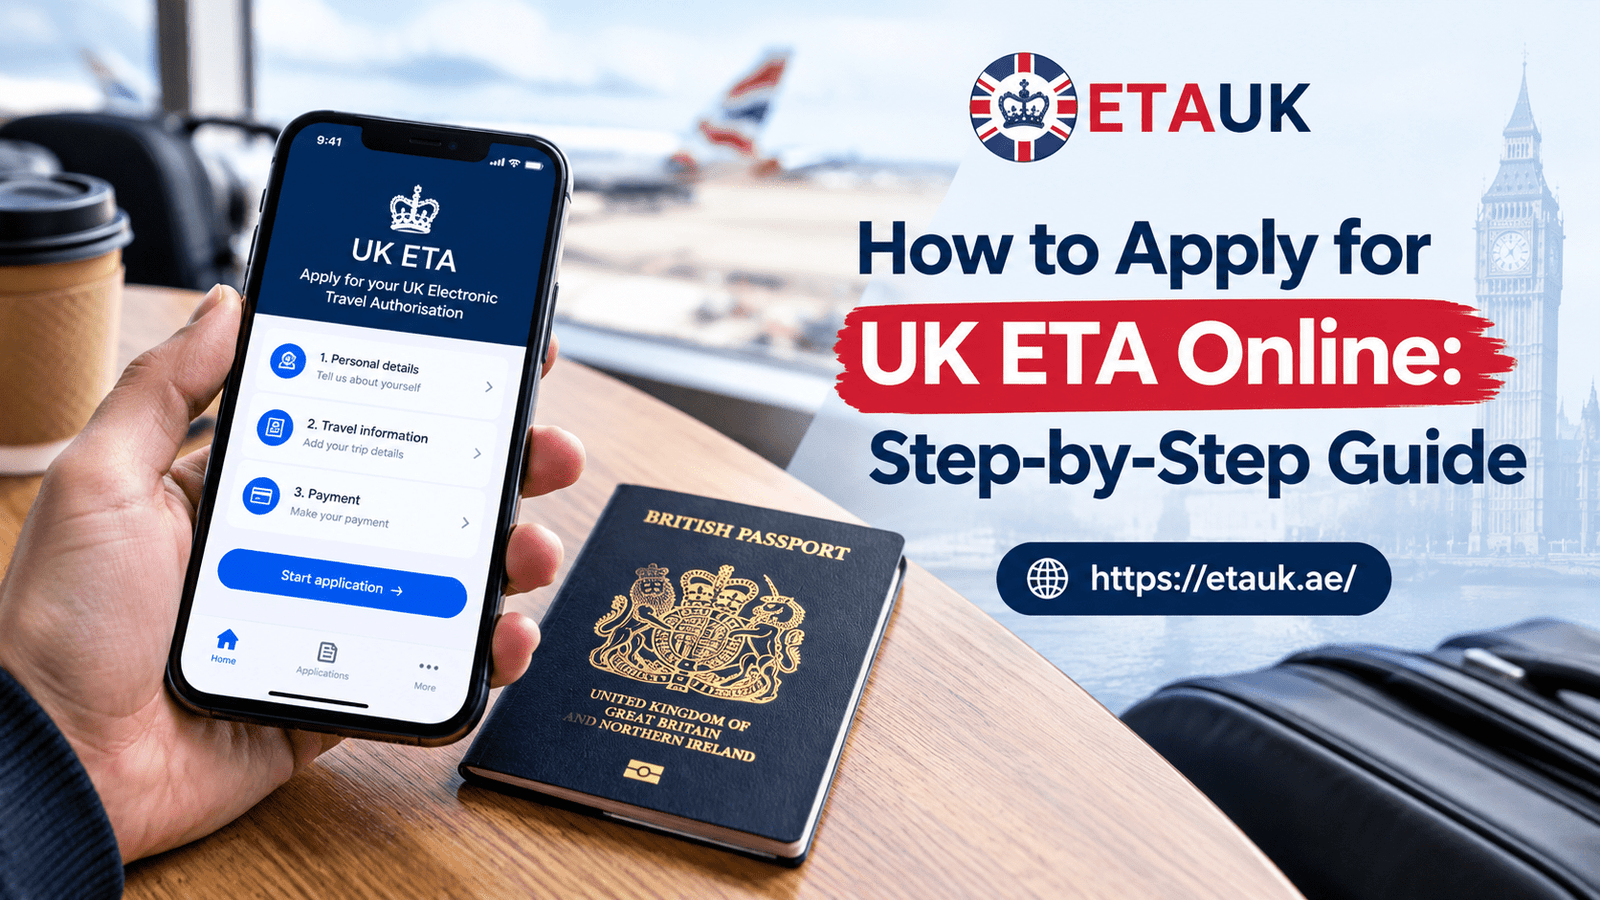
If you’re planning a trip to the UK and you don’t need a visa, you probably still need an ETA. It’s not the same thing as a visa, and honestly, most people get confused about that at first. An ETA (Electronic Travel Authorisation) is a digital permission to travel that gets checked against your passport before you fly. No stamp, no sticker, nothing physical. It just sits in the system linked to your passport number.
The good news is the process is quick if you do it right. The bad news is a surprising number of applications get delayed or rejected over small mistakes, mostly bad photos or rushed form entries. This guide walks you through the exact steps, what to have ready before you start, and the mistakes that trip people up most.
Official UK ETA Application: https://application.etauk.ae/
Do you actually need an ETA?
Before anything else, check whether you’re in the group that needs one. You need an ETA if you’re visiting the UK for tourism, visiting family, business trips, or short-term study, and you don’t already hold British or Irish citizenship or existing UK immigration status (like a visa or settled status).
You do not need an ETA if you already hold a valid UK visa, have permission to live, work, or study in the UK, or you’re a British or Irish passport holder.
If you’re not sure which category you fall into, it’s worth double-checking on the official UK ETA eligibility page before you pay any fee.
What you need before you start
Have these ready before you open the application. It saves you from starting over halfway through.
Your passport. Specifically, the one you’re actually traveling with. If you have two passports (dual nationality is common among Gulf residents), make sure the ETA gets linked to the correct one. This is one of the most common and most painful mistakes people make, because an ETA tied to the wrong passport is basically useless and you can’t just transfer it.
A working email address. Your decision gets sent here, so use one you check regularly, not an old inbox you forgot the password to.
A payment method. Credit card, debit card, Apple Pay, or Google Pay all work. The fee is £30 per person, and that includes children and babies. Every traveler needs their own ETA, there’s no family bundle.
A device with a decent camera. You’ll photograph your passport’s data page and take a photo of your face. Good lighting matters more than people expect.
Step 1: Choose how you’re applying
You can apply through the official UK ETA portal. The application portal tends to be faster because it walks you through the photo and document scan more smoothly, and a lot of applicants get an automatic decision within minutes this way. The website works fine too, it just takes a bit more manual entry.
Step 2: Enter your personal details
This is the straightforward part, but it’s also where small errors cause big delays. Enter your name exactly as it appears on your passport, not how you normally spell it or write it on other documents. Double-check your date of birth and passport number before moving on. A single mismatched digit can flag your application for manual review, which pushes your decision from minutes to days.
Step 3: Upload your passport photo and your face photo
You’ll be asked to photograph the personal details page of your passport, then take a photo of your face, similar to a passport photo but taken live through the app or webcam.
A few things that actually matter here:
Make sure there’s no glare on the passport page. Reflections from overhead lights or phone flashes are the number one reason passport photos get rejected during review.
For your face photo, use plain lighting, look straight at the camera, and don’t wear glasses, hats, or anything covering your face. Neutral expression, not smiling with teeth. It sounds picky, but the system is strict about this because it’s matching your photo against your passport photo automatically.
If your photo gets rejected, you’ll usually be asked to retake it rather than being auto-denied, so don’t panic if it happens. Just follow the on-screen guidance and try again with better lighting.
Step 4: Answer the eligibility questions
You’ll get a short set of questions about your travel history, any criminal record, and immigration history. Answer honestly. These questions exist because certain answers trigger additional review rather than automatic rejection, and being upfront is always better than getting flagged for inconsistency later. If you’re unsure how a past visa refusal or minor legal issue affects your application, it’s worth reading through case-specific guidance rather than guessing.
Step 5: Pay the fee and submit
The fee is £30, charged in British pounds regardless of where you’re applying from. Once you submit, you cannot get a refund, even if your travel plans change or you decide not to go. So it’s worth being certain about your travel dates and destination before you hit submit, especially if you’re applying well in advance.
Step 6: Wait for your decision
Most people get a decision by email within a few hours, sometimes within minutes if you applied through the portal. Officially, it can take up to 3 working days, and the government recommends applying at least 3 working days before you travel to leave room for that.
If it’s been more than 3 working days and you haven’t heard anything, check your spam folder first. If it’s genuinely not there, you’ll need to contact UK Visas and Immigration through their webchat, since phone support isn’t available for ETA queries.
Step 7: Save your confirmation
Once approved, you’ll get an email with a 16-digit ETA reference number. Keep this email. You don’t need to print anything or carry a physical document, since the ETA is electronically linked to your passport, but airlines will sometimes ask to see the confirmation email at check-in, so having it easily accessible on your phone is a smart move.
Do not travel until you’ve actually received the approval email. Applying isn’t the same as being approved, and boarding a flight before you have confirmation can cause serious problems at check-in or on arrival.
How long does your ETA last?
Once approved, your ETA is valid for 2 years or until your passport expires, whichever comes first. During that time, you can make multiple trips to the UK, each for up to 6 months, without reapplying. If your passport expires or you get a new one, though, you’ll need a fresh ETA linked to the new passport number, even if your old one was still valid.
Common mistakes that slow things down
A few patterns show up again and again with delayed or rejected applications, worth avoiding on your end.
Applying too close to your travel date is probably the biggest one. Even though most decisions come fast, giving yourself zero buffer means any hiccup, a blurry photo, a name mismatch, becomes a real problem instead of a minor delay.
Using an old or soon-to-expire passport is another. If your passport expires in a few months, consider renewing before applying so your ETA has real value for the full two years instead of getting cut short.
Mismatched personal details, like a name that doesn’t match your passport exactly, or an old address on file, also trigger unnecessary review. Take the extra thirty seconds to check everything before submitting.
And using unofficial third-party sites that overcharge or mishandle your data. Stick with the genuine application portal and you avoid both extra cost and the risk of your information being mishandled.
What if you’re applying for a family member?
You can apply on behalf of someone else, including children, elderly parents, or anyone who’s not comfortable navigating the app themselves. You’ll still need each person’s own passport details and their own photo, and each application is submitted and paid for separately. There’s no way to bundle multiple people under one payment or one reference number.
Final thought
The UK ETA process itself isn’t complicated, but it rewards a little patience. Have your documents ready, take your photos somewhere well lit, double check your details against your passport, and apply with enough lead time before your trip. Most applicants who run into trouble aren’t dealing with anything serious, they just rushed a step or used an unofficial site by mistake. Get those basics right and you should have your approval well before you need to board.